Having your hardwood flooring properly installed will help ensure you get the most value from it and enjoy the beauty of your investment. The National Wood Flooring Association has several recommendations for properly installing hardwood floors. While we recommend consulting a professional to have your floors installed, if you want to save on the cost to install hardwood floors, you can do it yourself by following these tips.
Simple Flooring Installation Process
Installing hardwood flooring is a major improvement that can enhance your space, and it’s worth your while to properly prepare the subfloor before the installation project begins. This means making sure the surface you plan to lay the flooring on is clean, level and structurally sound. You may have to sand down any areas that rise too high or fill those that dip too low.
Acclimating Your Hardwood Floors
Before installing the wood on your floors, it needs to be acclimated. This process allows wood to adjust to the moisture content of the environment. Not allowing proper hardwood floor acclimation can lead to gaps, cracks and squeaks. You should leave your wood out in the space where you will install it for seven to ten days. Don’t store the wood in any place other than where it will be installed, such as in your garage or on your patio.
How to Install Hardwood Floors
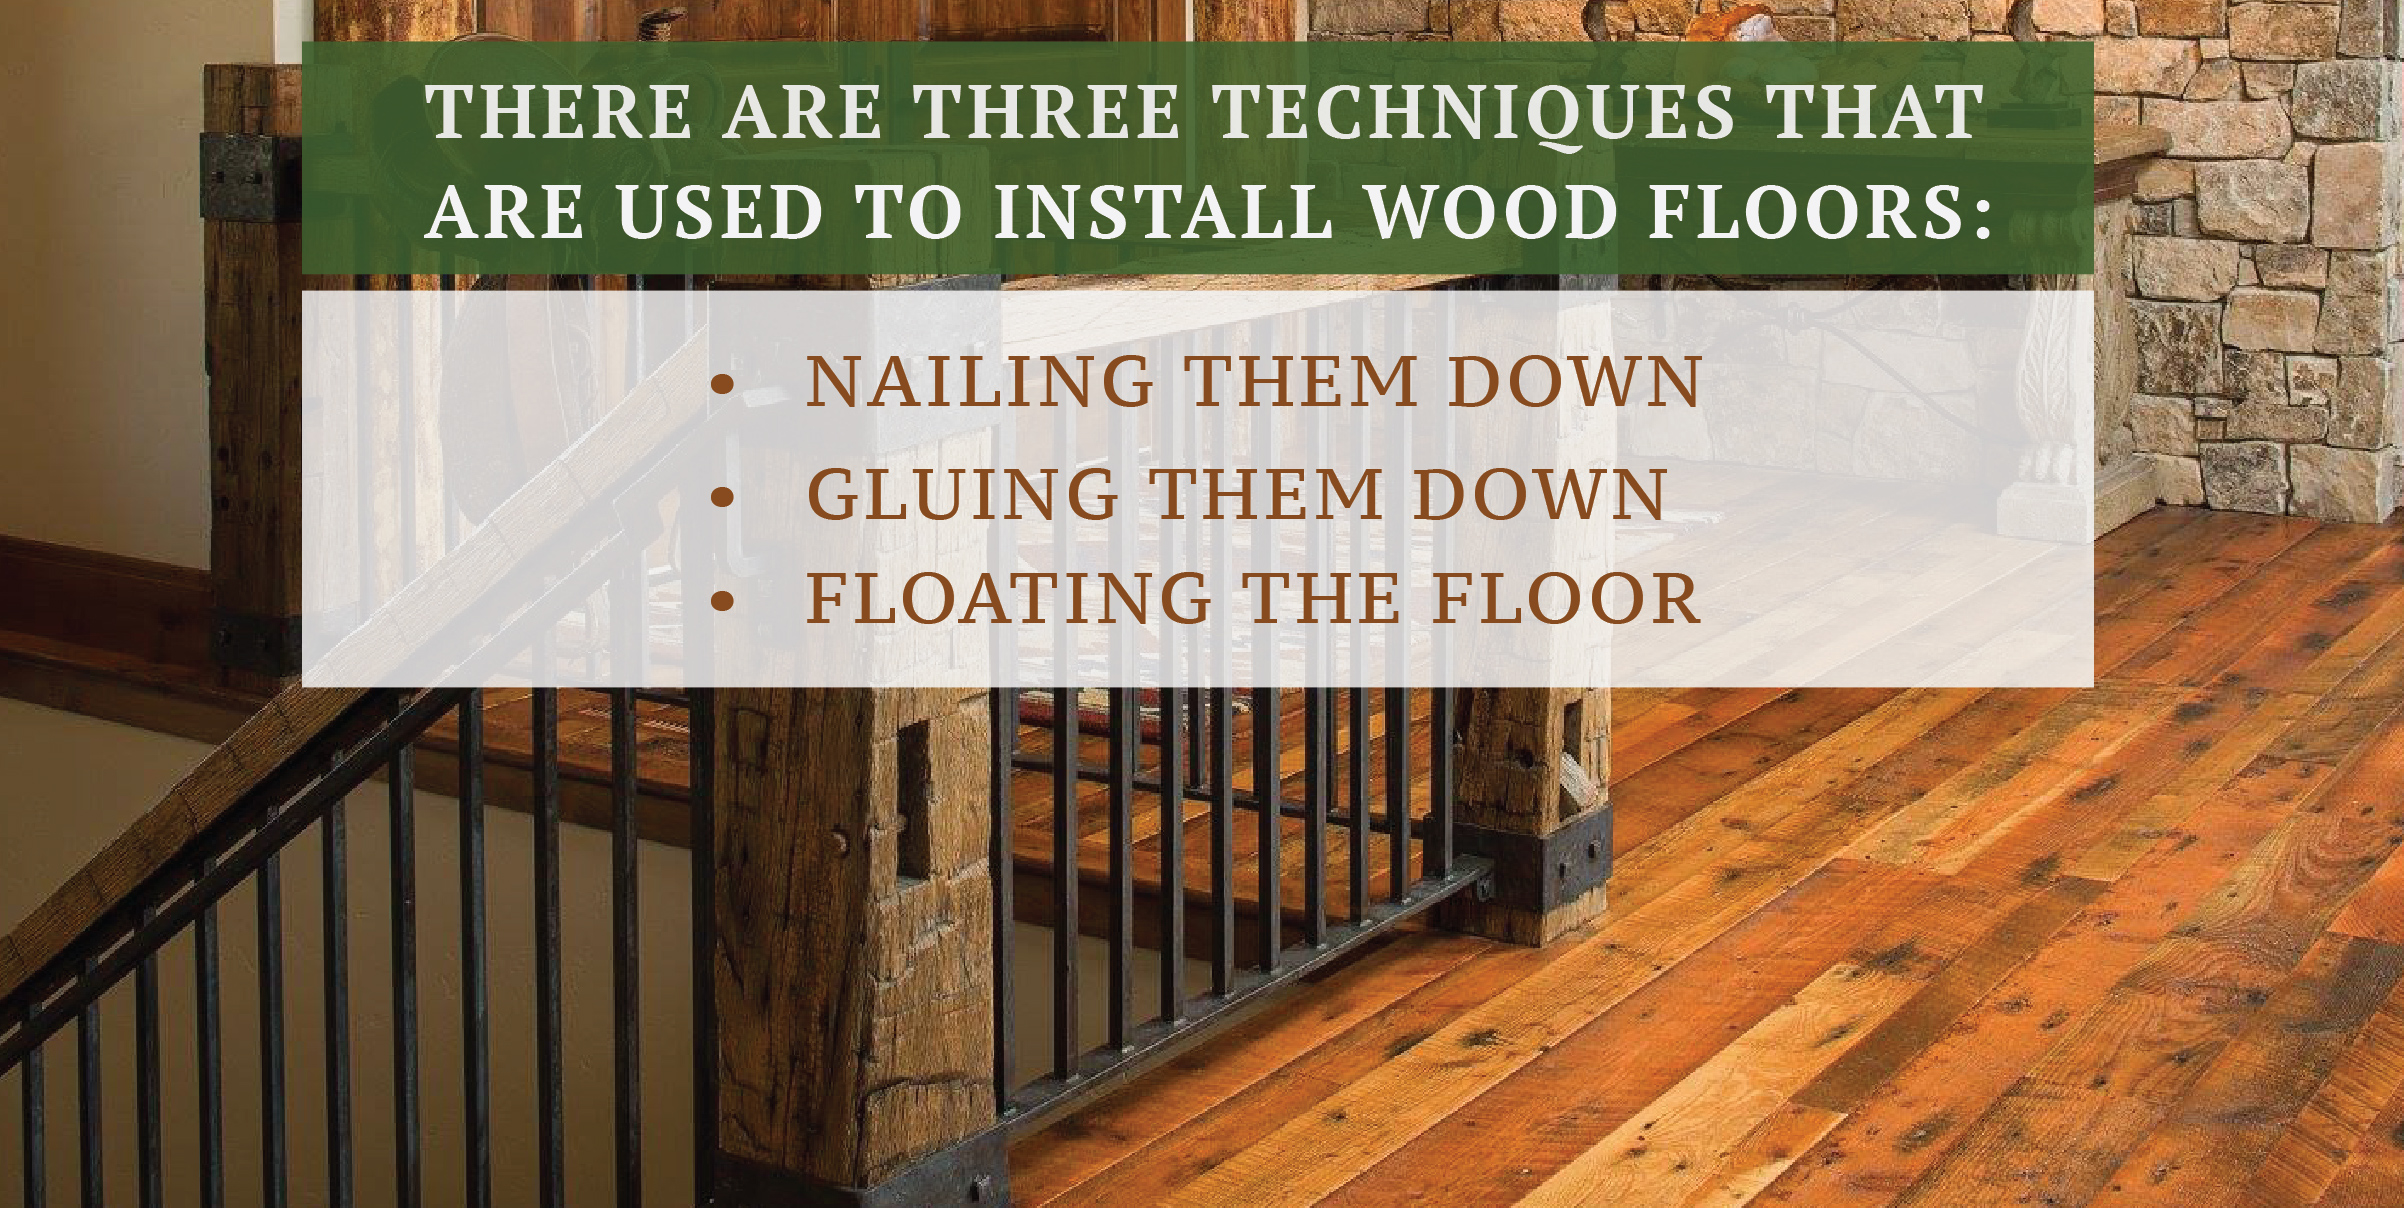
Whether you plan to hire a professional or install the flooring yourself, it’s useful to know what to expect during the installation process. There are three main techniques used to install wood floors. Which you use depends on what type of wood you have and where the flooring will be installed. The methods are:
- Nailing down solid wood floors with a pneumatic nailer or stapler is the most common technique.
- Solid hardwood floors may also be glued down by adhering the material to the subfloor.
- Floating the floor means attaching the planks to each other and not the subfloor. Engineered hardwood planks can be floated on almost any type of surface, including plywood and concrete, and fitted together using a tongue and groove system and glue.
When your flooring is being installed, mix the bundles of planks to attain a nice variance in shade and colors on your floor. The variety will bring out the natural beauty of the wood and alleviate the possibility patches of your floor that are noticeably lighter or darker than the rest of the floor.
If you install wood flooring row by row and the area has something in the way that breaks the flow, such as a fireplace or doorway, use a miter saw to alter the planks, so they frame the obstruction. Corners may be cut using a jigsaw.
Placement of Wood Flooring
Solid hardwood floors should be installed in spaces at ground level or above because the wood expands and contracts according to the moisture and temperature around it.
If you install engineered hardwood floors over an existing floor, you eliminate the work of removing the old flooring. You also have the added benefits of soundproofing and insulation from the old floor.
If there are any irregularities in the level or smoothness of the old flooring, you’ll have to correct those before placing your wood flooring on top of it. Also, the new floor will raise the flooring level, which could affect transitions to hallways or adjoining rooms.
Regardless of whether you use solid hardwood or engineered hardwood, you should know what direction the floor joists that support the subfloor go in. Your wood plank should ideally be installed perpendicular to the floor joists.
Table of Contents
- Chapter 1: Is Reclaimed Hardwood or Engineered Hardwood Flooring Better for You?
- Chapter 2: What Are the Benefits of Engineered Wood Flooring?
- Chapter 3: Reclaimed Wood Flooring Could Work for Your Project
- Chapter 4: Types of Prefinished Wood Flooring
- Chapter 5: Types of Solid Wood Flooring
- Chapter 6: How to Install Wood Floors
- Chapter 7: The Pros and Cons of Wood Flooring
- Chapter 8: Get Started with Your Wood Floors